I suppose you had no intention of coming here to take a watered-down beverage that melts in five minutes and bears no resemblance to the pictures. You desire that rainbow slushie recipe formula.
The type that causes individuals to put their scrolling fingers on hold and take a more critical look at their screen and say, “What, is that homemade? Yeah. Same.
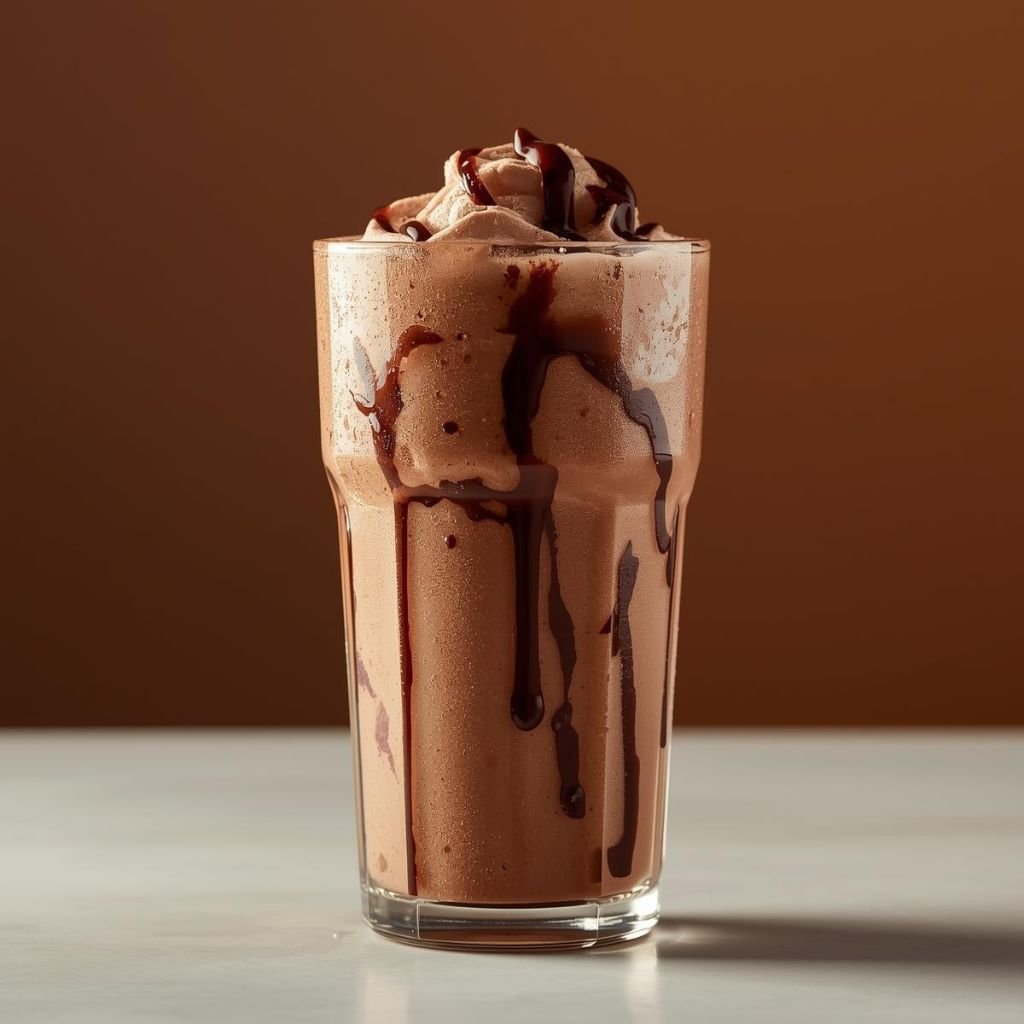
The memory of my first attempt at coming up with a rainbow slushie at home remains fresh in my mind. I thought it would be easy. Blend, pour, done, right? Wrong. I had a strange brownish stuff that was good to eat but not to see.
However, I eventually broke the code after a couple of trials (and constituting a bit of freezer patience). Now? This recipe never fails.
In case you would like a rainbow slushie recipe that is actually good, and that is layered, tastes refreshing, and that just looks amazing, you are in the right place. Let’s make something fun.
Table of Contents
Why Rainbow Slushies Are Always a Hit
Rainbow slushies don’t just sit there like a normal drink. They show off. They bring color, texture, and straight-up joy into a glass. And honestly? That’s half the fun.
I love rainbow slushies because:
- They feel nostalgic, like summer fairs and childhood treats
- They look complicated but aren’t hard once you know the tricks
- They work for kids, adults, parties, or solo “treat yourself” moments
Ever noticed how people get way more excited about colorful food? That’s because your brain loves visuals just as much as flavor.
What Makes a Rainbow Slushie Actually Good (Not Just Pretty)
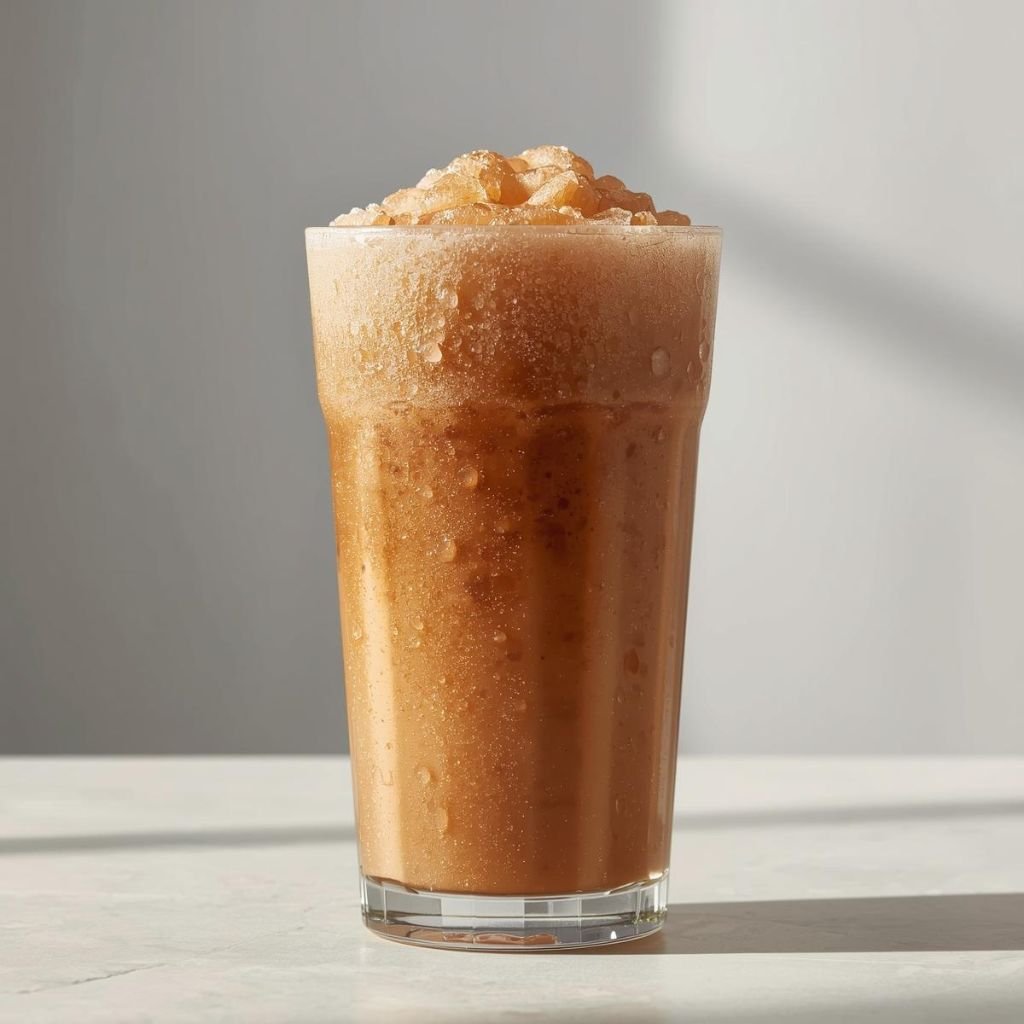
Texture Is Everything
A rainbow slushie should feel icy but smooth, not crunchy, not watery, and definitely not like shaved ice soup. I always aim for a thick, spoonable consistency. If it slowly slides off a spoon instead of dripping, you nailed it.
Layer Stability Matters
If your layers melt into each other, the whole rainbow effect disappears. That’s why chilling between layers isn’t optional, it’s essential. Trust me, skipping this step is how dreams die.
Balanced Flavors Win
Stacking six super-sweet flavors sounds fun… until your mouth gives up. I always mix sweet and tart flavors so each sip stays refreshing instead of overwhelming.
IMO, balance turns this from a novelty drink into something people actually want seconds of.
Rainbow Slushie Ingredients (Simple but Flexible)
This recipe looks fancy, but the ingredients stay refreshingly basic.
Base Ingredients
- Crushed ice (or regular ice, crushed in a blender)
- Cold water, lemonade, or fruit juice
- Sugar, honey, or simple syrup (adjust per layer)
- Fresh lemon juice (this boosts flavor and brightness)
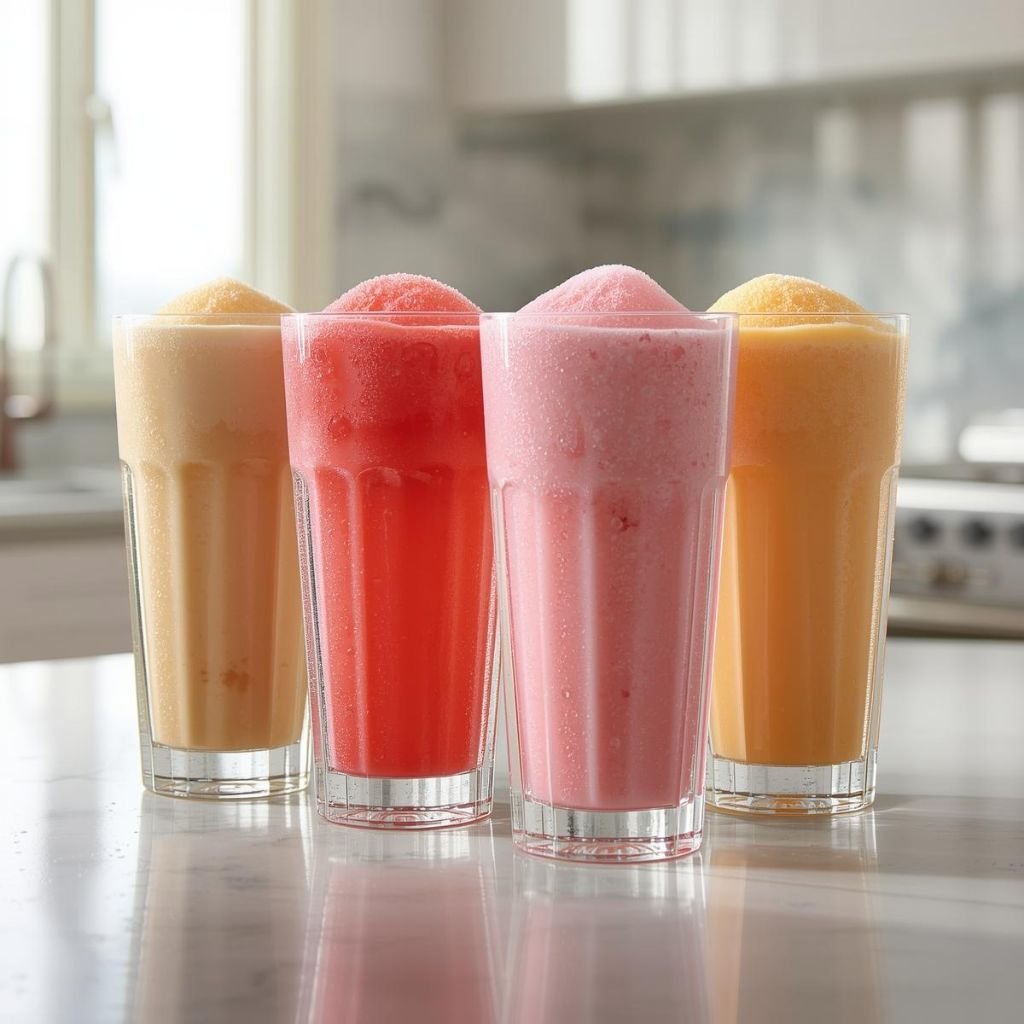
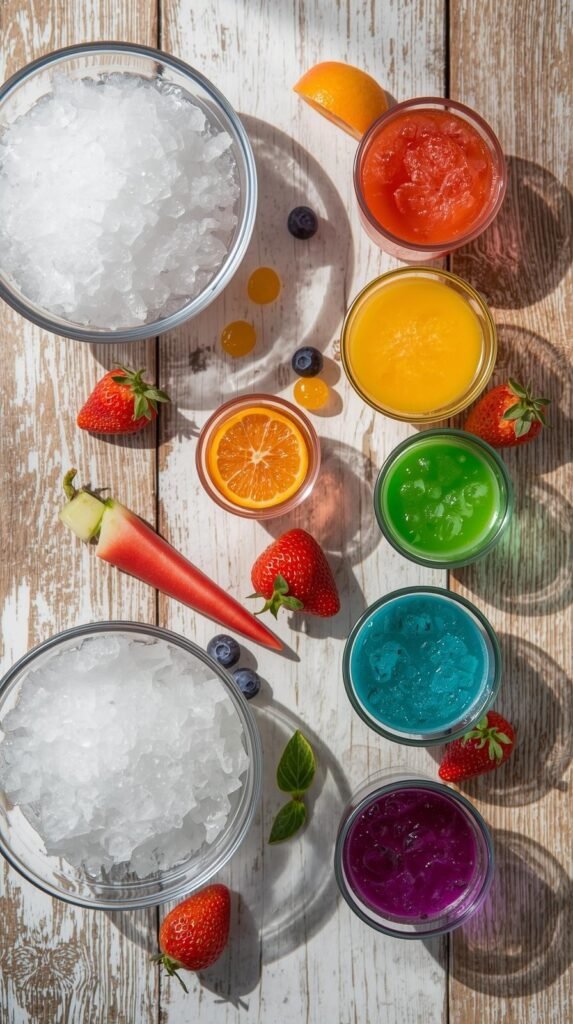
Flavor & Color Options
Pick 4–6 colors depending on glass size:
- Red: Strawberry, cherry, raspberry
- Orange: Mango, orange juice
- Yellow: Pineapple, lemon
- Green: Kiwi, green apple
- Blue: Blue raspberry
- Purple: Grape, mixed berry
Fruit-based flavors always taste cleaner and look more natural.
How to Make a Rainbow Slushie (Step-by-Step, No Guessing)
Step 1: Blend Each Color Separately
I won’t lie, this part takes time. But it’s worth it.
For each color:
- Add 1½ cups crushed ice to the blender
- Pour in flavored juice or syrup
- Add sweetener only if needed
- Blend until thick and smooth
Taste every layer. Fix it now, not later.
Step 2: Chill Between Layers (Yes, Really)
After adding the first layer to your glass:
- Place it in the freezer for 5–10 minutes
- Let it firm up slightly, not freeze solid
This step keeps your colors sharp and separated. Ever wondered why café rainbow drinks look so clean? This is why.
Step 3: Layer Slowly Like a Calm Person
Use a spoon. Pour gently. Don’t rush.
I tilt the glass slightly and spoon each layer over the back of another spoon. It sounds extra, but it works every single time.
Result:
- Clean rainbow lines
- No muddy blending
- Full visual payoff
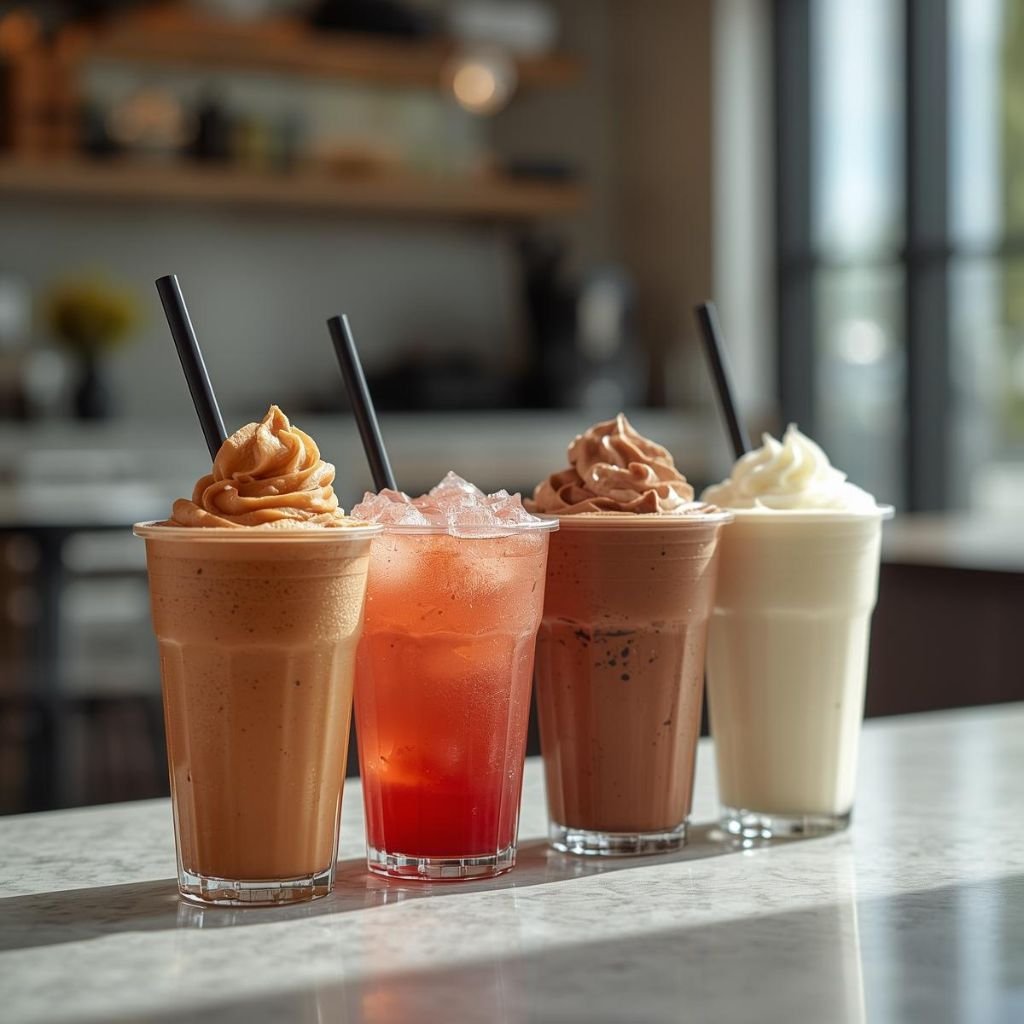
Best Rainbow Slushie Flavor Combinations
Classic Crowd Favorite
- Strawberry
- Mango
- Pineapple
- Blue raspberry
Sweet, bright, and universally loved.
Tart & Refreshing Combo
- Cherry
- Lemon
- Green apple
- Grape
Perfect for hot days when sugar feels heavy.
Tropical Rainbow
- Mango
- Pineapple
- Coconut
- Passionfruit
I served this once at a BBQ and people asked where I bought it. That’s always a win.
Common Rainbow Slushie Mistakes (Learn From My Pain)
Too Much Liquid
More liquid makes blending easier, but ruins the texture. Add liquid slowly.
Skipping Chill Time
I know you’re excited. Still, don’t skip it. This step saves your layers.
Overdoing Sweetness
Taste fatigue is real. Balance each layer so the final drink stays refreshing.
How to Make Your Rainbow Slushie Look Instagram-Worthy
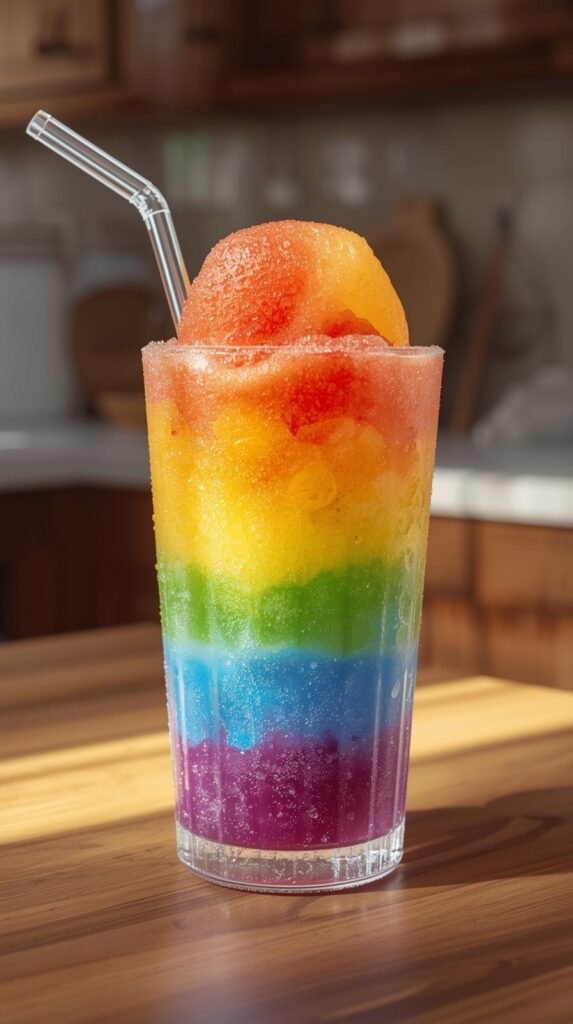
Use the Right Glass
Clear, tall glasses show off layers best. Short glasses hide the rainbow.
Simple Garnishes Work Best
- Lemon or lime slice
- Clear straw
- Tiny umbrella (optional but fun)
Lighting Is Everything
Natural light near a window makes colors pop. Overhead lighting kills the vibe, FYI.
Make-Ahead & Party Prep Tips
Hosting or prepping ahead?
- Blend each color separately
- Freeze in airtight containers
- Let soften slightly before layering
This saves time and stress during parties. I do this every time now.
Creative Variations to Try
- Creamy version: Add a splash of coconut milk
- Mocktail style: Use sparkling lemonade
- Adult version: Add a splash of vodka or rum (label clearly!)
The base stays the same, you just adjust the vibe.
Frequently Asked Questions (FAQ)
Can I make this without food coloring?
Absolutely. Fruit juices provide natural color and better flavor.
Why do my layers melt fast?
Your mixture is too thin or your glass isn’t chilled. Thicker blends = longer hold.
Can kids help make this?
Yes! Let them choose flavors or help layer under supervision.
How long does a rainbow slushie last?
Best enjoyed immediately. After 20–30 minutes, layers start softening.
Is a Rainbow Slushie Worth the Effort?
Honestly? Yes. Every time.
It turns a normal day into something fun. It makes people smile. And once you master it, it feels easy. Plus, there’s something weirdly satisfying about perfect layers lining up just right.
Final Thoughts
A rainbow slushie recipe that looks as good as it tastes isn’t about perfection. It’s about fun, color, and enjoying the process. Messy layers happen. Flavors can be adjusted. That’s part of the charm.
So grab your blender, pick your favorite colors, and make something joyful. Life’s too short for boring drinks, don’t you agree?

Rainbow Slushie Recipe
Equipment
- Blender
- Measuring cups
- Spoon
- Tall clear glass
- Freezer
Ingredients
- 1½ cups crushed ice (per color)
- ¼ cup fruit juice or flavored drink (per color
- 1–2 tsp sugar, honey, or simple syrup (optional, per layer)
- ½ tsp fresh lemon juice (per layer, optional)
Instructions
- Blend the first color by combining crushed ice, juice, optional sweetener, and lemon juice until thick and smooth.
- Spoon the first layer into a clear glass and place it in the freezer for 5–10 minutes to firm slightly.
- Repeat blending with the next color. Spoon gently over the back of a spoon to create a clean layer.
- Freeze briefly between each layer to prevent colors from mixing.
- Continue layering until the glass is full.
- Serve immediately with a straw or spoon.
Notes
- Chill between layers to keep colors separated
- Use fruit juice instead of food coloring for better flavor
- Avoid over-blending to prevent watery texture
- Serve immediately for best visual effect
- Adjust sweetness per layer to prevent flavor overload
- Clear glasses show layers best