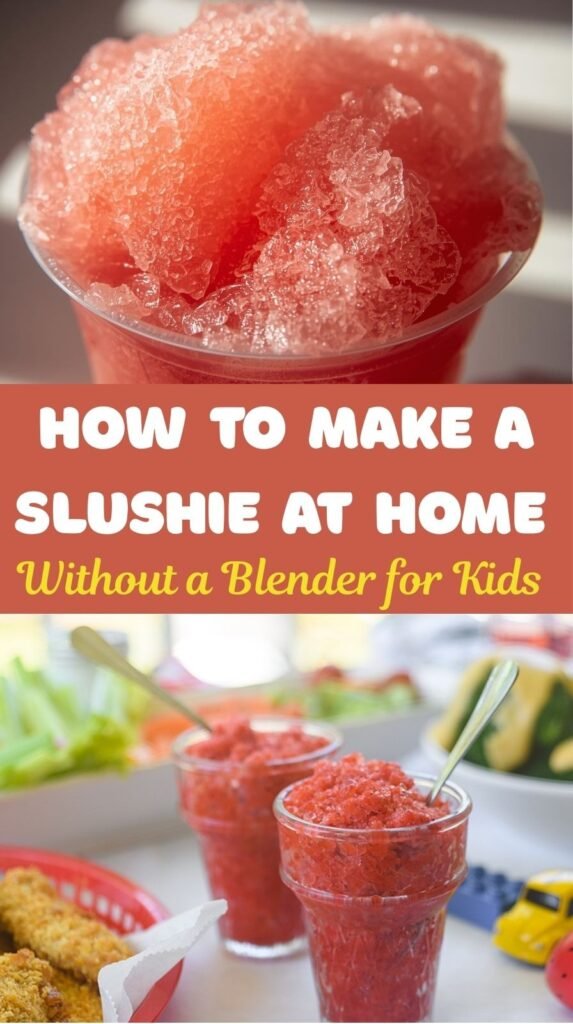
No blender? No problem. I promise you can still make a fun, icy slushie at home without fancy gadgets. And yes, your kids will still think you’re a snack-time hero.
I learned this trick one summer when my blender decided to quit right before a heatwave. The kids wanted slushie drinks. I wanted peace.
So I improvised. The result? A simple, hands-on method that actually felt more fun than pressing a button.
If you’ve ever searched “How to Make a Slushie at Home Without a Blender for Kids”, you’re in the right place. Let’s make it easy.
Table of Contents
Why Make a Slushie Without a Blender?
Blenders break. Power goes out. Or maybe you just don’t own one. That doesn’t mean you can’t enjoy a cold, refreshing slushie.
Making a slushie without a blender:
- Requires minimal tools
- Involves kids in the process
- Saves cleanup time
- Feels like a mini science experiment
Ever noticed how kids love anything that feels hands-on? This method turns snack time into an activity.
The Easiest Method: The Zip-Top Bag Ice Trick
This is the classic freezer-bag technique. It works fast and feels almost magical.
What You Need:
- 1 cup fruit juice (100% juice works best)
- Ice cubes
- ½ cup salt
- 1 small zip-top bag
- 1 large zip-top bag
- Towel or gloves
That’s it. No electricity required.
Step-by-Step: How to Make a Slushie at Home Without a Blender for Kids
Step 1: Fill the Small Bag
Pour fruit juice into the small zip-top bag. Seal it tightly. Double-check the seal. Trust me, juice leaks ruin the fun quickly.
Step 2: Prepare the Ice Bath
Fill the large bag halfway with ice cubes. Add salt over the ice. Salt lowers the freezing point and helps create slush quickly.
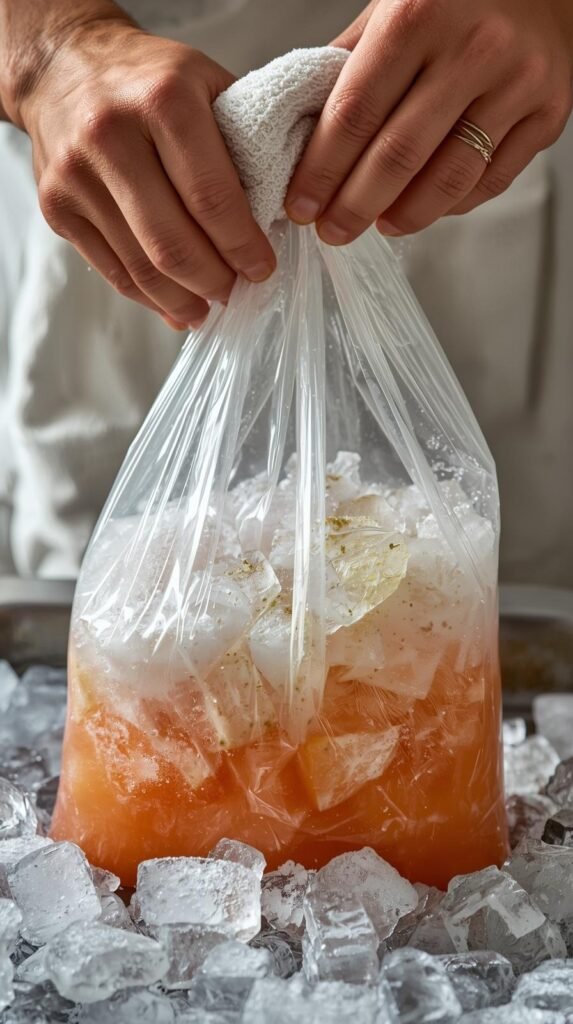
Step 3: Combine and Shake
Place the juice bag inside the large ice bag. Seal it. Wrap everything in a towel and shake for 5–7 minutes.
Kids love this part. It feels like a workout and a science class combined.
Why Salt Matters
Salt makes the ice colder. It pulls heat away from the juice faster. Without salt, you’ll just have cold juice.
Ever wondered why ice cream makers use salt? Same concept.
The Texture Test
After shaking, check the small bag. It should feel thick and slushy, not fully frozen.
If it’s still liquid, shake longer. If it’s too solid, let it soften for a minute.
Texture matters more than perfection here.
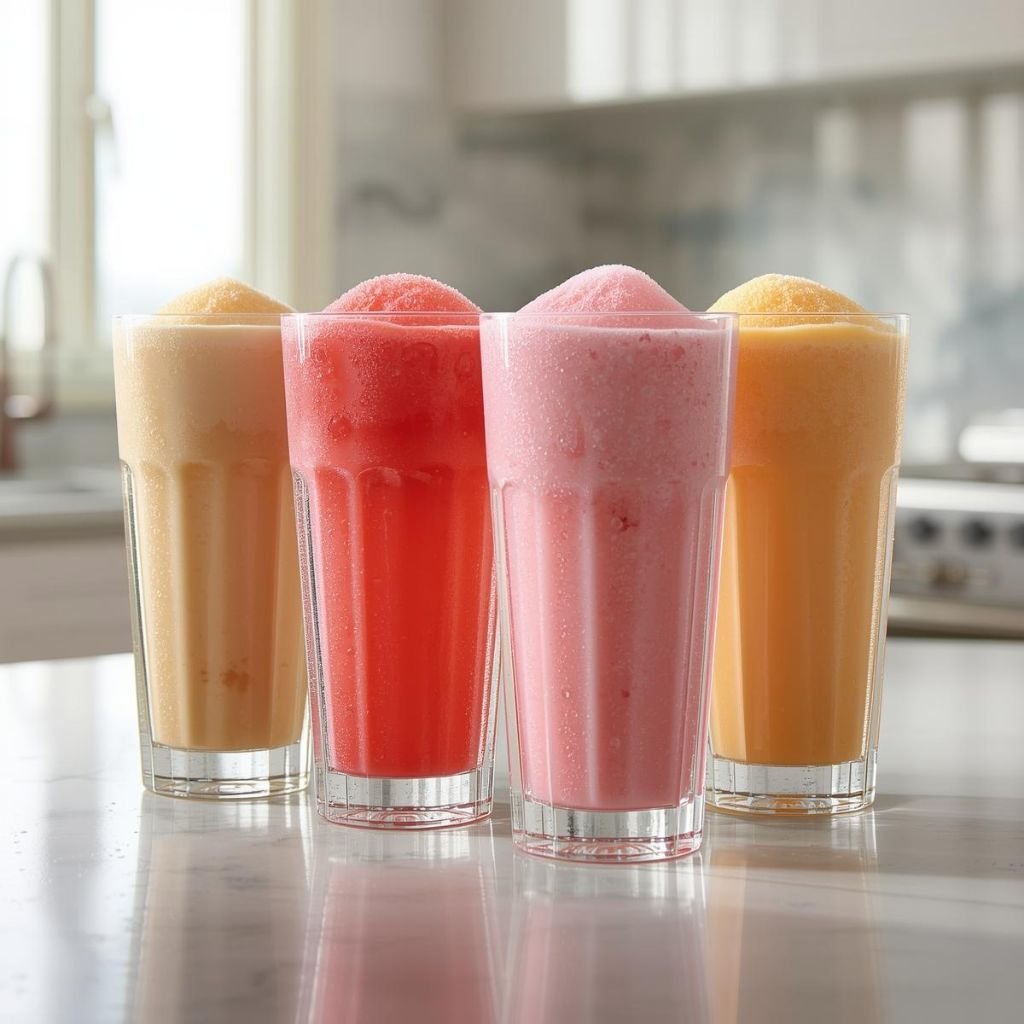
Best Juice Options for Blender-Free Slushies
Not all juices work the same. Some freeze better than others.
Great Choices:
- Apple juice
- Grape juice
- Orange juice
- Strawberry lemonade
Avoid:
- Thick smoothies
- Milk-based drinks
Keep it simple and liquid.
Making It Healthier
You can control ingredients easily.
For a healthier slushie:
- Use 100% fruit juice
- Dilute juice slightly with water
- Avoid added-sugar drinks
IMO, diluted juice tastes refreshing and not overly sweet.
Fruit-Based Version Without Juice
Want to skip packaged juice? You can still make a natural version.
Try This:
- Mash soft fruit (like strawberries or mango)
- Mix with a little water
- Follow the same zip-top bag method
It takes slightly longer, but the flavor tastes fresh and bright.
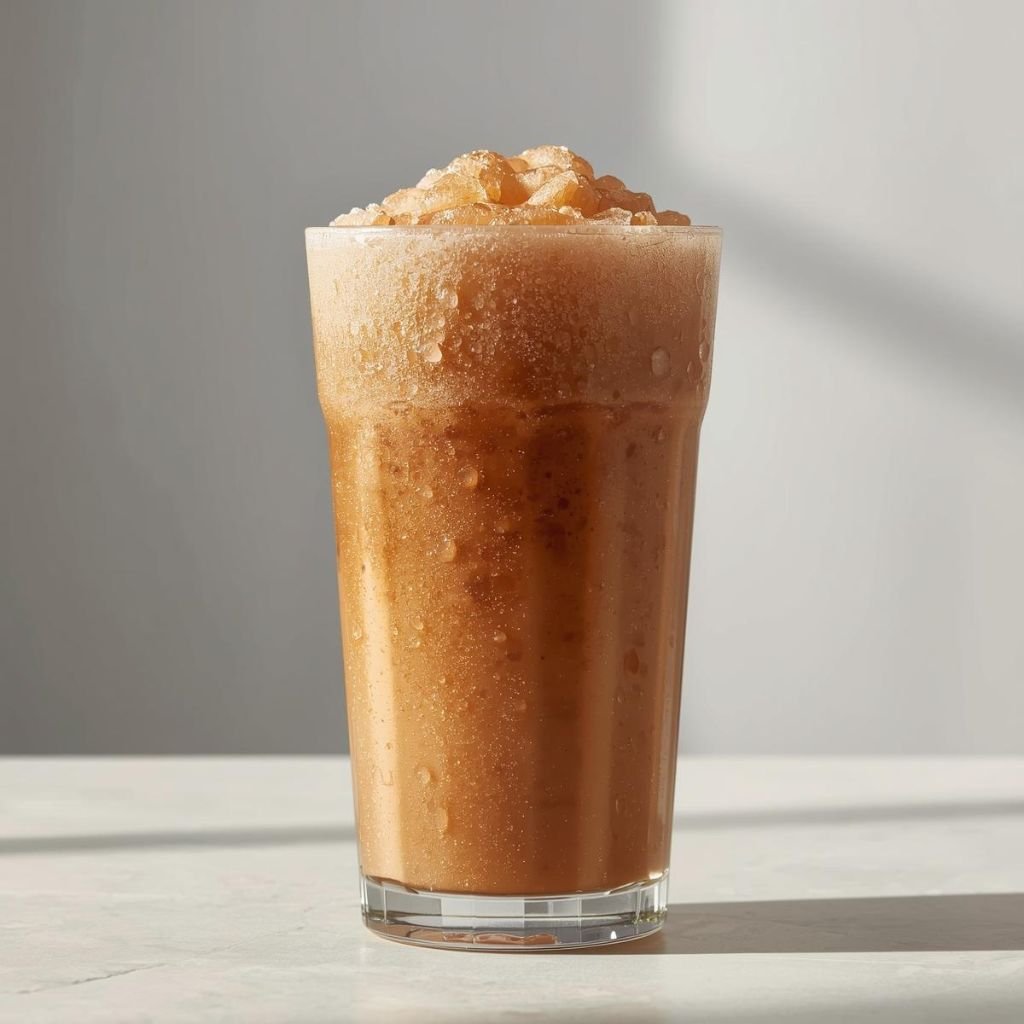
No Zip-Top Bags? Try the Freezer Stir Method
If you don’t have bags, use your freezer.
How It Works:
- Pour juice into a shallow container.
- Place it in the freezer.
- Stir every 30 minutes with a fork.
- Scrape ice crystals until slushy texture forms.
This takes about 2–3 hours. It requires patience but zero special tools.
Which Method Works Best?
Let’s compare honestly.
Zip-Top Bag Method:
- Faster (under 10 minutes)
- Fun and interactive
- Great for kids
Freezer Stir Method:
- Slower
- Less hands-on
- Easier cleanup
If kids want instant results, use the bag trick.
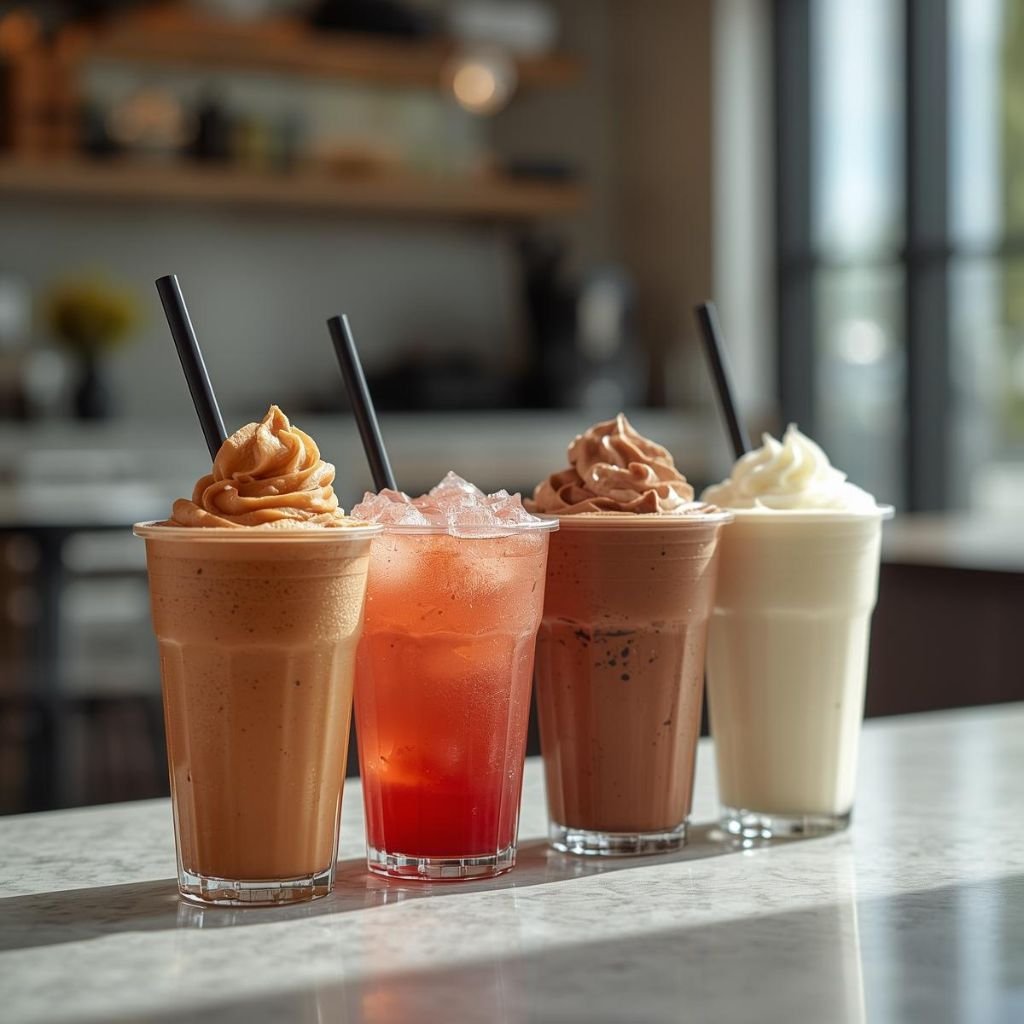
Flavor Variations Kids Love
Once you master the technique, you can experiment.
Rainbow Slushie:
Make two flavors and layer them.
Citrus Sparkle:
Add a splash of sparkling water before serving.
Berry Blast:
Use mixed berry juice for bold color.
Simple tweaks create excitement.
My Personal Experience
The first time we tried this, I expected a mess. I prepared for sticky counters and disappointed faces. Instead, we ended up laughing and taking turns shaking the bag like it contained treasure.
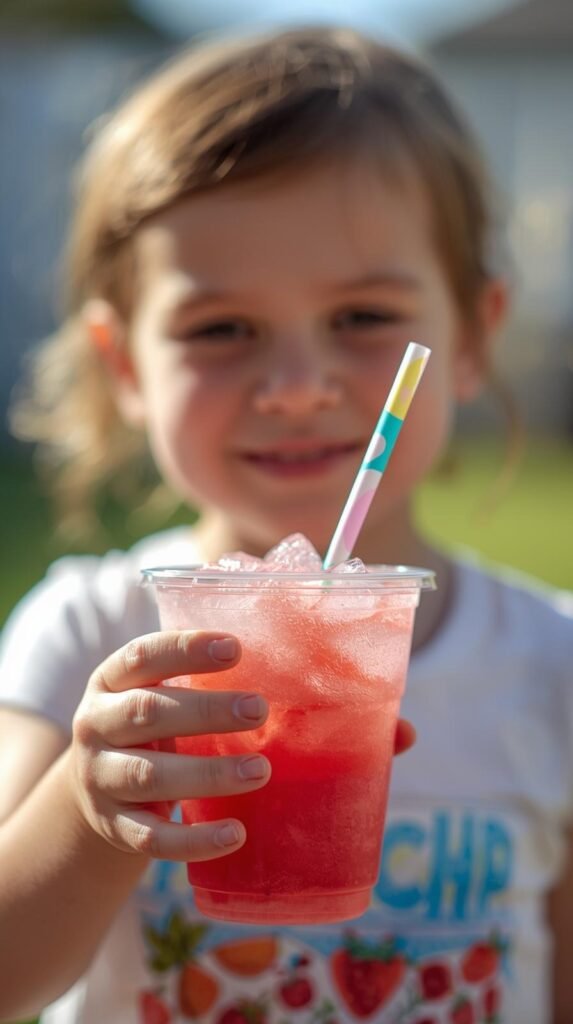
The kids loved watching liquid transform into slush. That “wow” moment felt better than any store-bought version.
How to Make It Extra Fun
Presentation makes everything better.
Try:
- Clear cups to show color
- Reusable colorful straws
- Fruit garnish on top
- Fun-shaped ice cubes
Ever noticed how kids eat with their eyes first? Same rule applies.
Safety Tips for Kids
Keep it safe and smooth.
- Wrap the bag in a towel before shaking
- Supervise small kids
- Check seals carefully
- Avoid overfilling bags
Simple precautions prevent mess and frustration.
Common Mistakes to Avoid
Let me save you a few lessons.
- Using thin sandwich bags
- Skipping salt
- Overfilling juice bag
- Not sealing tightly
Quality zip-top bags matter here.
Can You Store Leftover Slushie?
You can freeze leftovers. However, texture changes after refreezing.
If it freezes solid, scrape with a fork to bring back slush texture.
Fresh always tastes best.
How This Compares to Store-Bought Slushies
Store versions often contain:
- Artificial colors
- High sugar content
- Preservatives
Your homemade slushie contains:
- Simple ingredients
- Controlled sweetness
- No mystery additives
Kids care about flavor and color. You care about ingredients. Everyone wins.
Why Kids Love This DIY Slushie Method
Kids enjoy:
- Shaking the bag
- Watching texture change
- Choosing their flavor
It feels interactive and creative.
Ever noticed how homemade snacks feel more special? This definitely does.
Is It Worth the Effort?
Absolutely. You skip added sugar. You skip artificial dyes. You skip expensive convenience store runs.
You also create a small memory in the process. That counts.
And honestly, making a slushie without a blender feels slightly impressive.
Final Thoughts
You don’t need fancy equipment to create fun summer treats. You just need ice, salt, juice, and a little energy.
Now you know exactly how to make a slushie at home without a blender for kids. It’s simple. It’s interactive. It’s customizable.
Next time your kids ask for a slushie, skip the store. Grab a zip-top bag instead.
And who knew shaking a bag of ice could turn you into the coolest parent in the room?

How to Make a Slushie at Home Without a Blender for Kids
Equipment
- 1 zip-top bag
- 1 large zip-top bag
- Measuring cup
- Towel or kitchen gloves
- Cup for serving
Ingredients
- 1 cup 100% fruit juice
- 2–3 cups ice cubes
- ½ cup salt
Instructions
- Pour fruit juice into the small zip-top bag and seal tightly. Double-check the seal.
- Fill the large zip-top bag halfway with ice cubes. Add salt evenly over the ice.
- Place the small juice bag inside the large ice bag and seal securely.
- Wrap the bag in a towel and shake continuously for 5–7 minutes until slushy texture forms.
- Remove the small bag, wipe it dry, open carefully, and pour slushie into a cup. Serve immediately.
Notes
- Use thick freezer-quality zip-top bags to prevent leaks
- Salt lowers the freezing point and helps slush form faster
- Wrap bag in towel to protect hands from cold
- Shake continuously for best texture
- 100% fruit juice works best
- For natural version, mix mashed fruit with water
- Serve immediately for ideal slush consistency