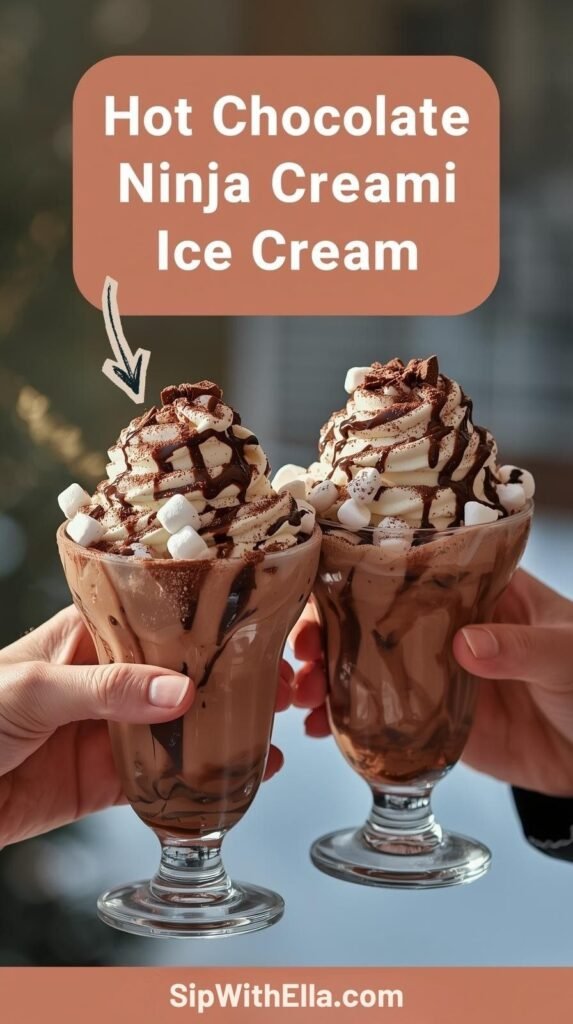
This Is Not Your Regular Hot Chocolate (Trust Me)
I guess you like hot chocolate, and you also like ice cream, and now you have your Ninja Creami on the counter staring at you like it is saying, So when are we doing something fun? Yeah, same.
It was that very thought that made me taste Hot Chocolate Ninja Creami Ice Cream, and the wow! I haven’t looked back since.
This recipe hits different. It feels like the warm winter feel, a movie marathon in the late night, and that cup of hot cocoa that you keep on refilling.
Have you ever wondered what a glow-up would be like between hot chocolate and ice cream? Caution: it is dangerously good.
I will take you through them all, ingredients, tricks to add texture, and some of my mistakes so that you do not need to make them. Let’s get into it.
Table of Contents
Why Hot Chocolate Works So Well as Ninja Creami Ice Cream
Hot chocolate has already satisfied all the criteria of a good ice cream base. Has comfort, cocoa, sugar, milk, baked in. The first time I put it in my Ninja Creami I was actually not expecting it to come out this creamy.
The Ninja Creami has no problems with cocoa based recipes. The ice crystals are shredded viciously by the machine and you end up with a rich, smooth and spoonable mixture rather than pathetic ice blocks of chocolate.
Why does some chocolate ice cream taste chalky? This method fixes that.
Why this combo works:
- Cocoa dissolves evenly in milk
- Sugar lowers freezing hardness
- Creami processing creates ultra-smooth texture
- Flavor stays bold even when frozen
IMO, this is one of the easiest “wow” recipes you can make with minimal effort.
Ingredients You’ll Need (Simple but Powerful)
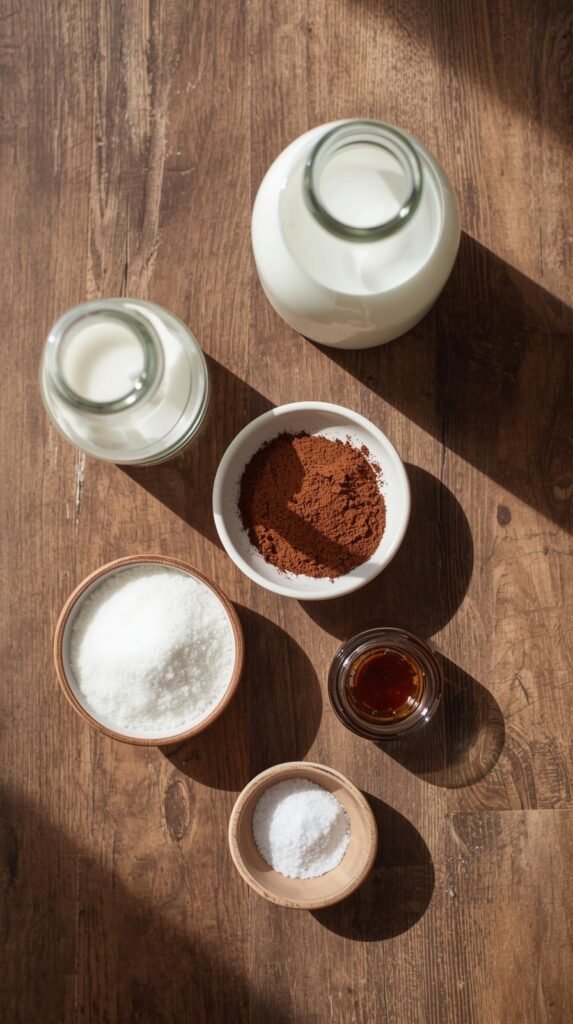
I love recipes that don’t send me hunting through five stores. This one stays chill and simple.
Basic Ingredients:
- 1½ cups milk (whole milk gives the best creaminess)
- 2 tablespoons unsweetened cocoa powder
- 2–3 tablespoons sugar (adjust to taste)
- ¼ cup heavy cream (optional but highly recommended)
- ½ teaspoon vanilla extract
- Pinch of salt (don’t skip this)
That’s it. No weird stabilizers. No mystery powders. Just good stuff doing good things.
Choosing the Right Milk (This Actually Matters)
Milk choice changes everything here. I learned this the hard way after testing different versions.
Best Options Ranked:
- Whole milk – Creamy, balanced, classic
- 2% milk – Slightly lighter, still good
- Oat milk (barista-style) – Surprisingly rich
- Almond milk – Works, but thinner texture
FYI, skim milk makes the ice cream icy and sad. If you want that rich hot chocolate vibe, fat is your friend.
Step-by-Step: Making the Hot Chocolate Base
This part feels cozy already, and yes, you can taste-test responsibly.
Step 1: Heat the Milk
Warm the milk in a saucepan over medium heat. Stir gently and don’t rush it. I keep the heat low because scorched milk ruins everything.
Step 2: Add Cocoa and Sugar
Whisk in the cocoa powder and sugar slowly. I whisk like I mean it because cocoa clumps love drama.
Step 3: Finish the Flavor
Add vanilla and salt. Taste it. Adjust sweetness. Smile because it already tastes amazing.
Step 4: Cool Completely
Let the mixture cool to room temp, then refrigerate it. This step matters more than people admit.
Freezing the Base the Right Way (No Guesswork)
Pour the cooled hot chocolate into your Ninja Creami pint. Leave a little space at the top because frozen liquids expand.
Freeze it flat for at least 12 hours. I usually go overnight because patience pays off here. Ever tried spinning a half-frozen base? Yeah… don’t.
Spinning It in the Ninja Creami (The Magic Moment)
This is where things get fun.
First Spin:
Use Ice Cream mode. Let the machine do its thing. The first spin usually looks crumbly. Don’t panic.
Re-Spin:
Hit Re-Spin once or twice. The texture transforms into creamy, scoopable perfection.
Optional Boost:
If it looks dry, add:
- 1 tablespoon milk
- or 1 tablespoon cream
Then Re-Spin again. Boom.
Texture Check: What You Should Expect
The final texture feels like soft-serve meets premium chocolate gelato. It melts smoothly and coats your tongue instead of disappearing instantly.
If you like thicker ice cream, freeze it again for 15–20 minutes. If you like softer scoops, eat it immediately. I usually can’t wait.
Flavor Variations You’ll Want to Try

Once you nail the base, the fun begins.
Marshmallow Hot Chocolate
Add mini marshmallows after the first spin using Mix-In mode. Childhood nostalgia unlocked.
Peppermint Hot Chocolate
Add ¼ teaspoon peppermint extract. Go easy. This stuff is strong.
Spiced Hot Chocolate
Add:
- Pinch of cinnamon
- Tiny pinch of chili powder
This version feels fancy and bold.
Mocha Hot Chocolate
Add 1 teaspoon instant espresso powder to the base. Coffee lovers, you’re welcome.
How This Compares to Regular Chocolate Ice Cream
Let’s be real, this isn’t just chocolate ice cream in disguise.
Hot Chocolate Ice Cream:
- Softer, silkier texture
- Deeper cocoa flavor
- Cozy, comforting taste
Regular Chocolate Ice Cream:
- Heavier
- Sometimes overly sweet
- Less nostalgic
I reach for this when I want comfort, not just dessert.
Common Mistakes (I Made These So You Don’t Have To)
I messed up a few times early on, so learn from my pain.
- Skipping the salt → flat flavor
- Using low-fat milk only → icy texture
- Not re-spinning → crumbly sadness
- Over-sweetening → sugar overload
Small tweaks make a big difference here.
Storage Tips (If You Somehow Have Leftovers)
If you don’t finish it in one sitting (rare but possible), smooth the surface before refreezing. Add a splash of milk before spinning again later.
The Ninja Creami handles re-freezing better than most ice cream setups, so leftovers still taste legit.
Is This Kid-Friendly? Absolutely.
Kids love this recipe because it tastes like dessert but feels familiar. You control the sweetness, and there’s no caffeine unless you add coffee.
Serve it plain or with marshmallows, and watch it disappear.
FAQ: Hot Chocolate Ninja Creami Ice Cream
Can I use hot cocoa mix instead?
Yes, but reduce added sugar. Some mixes already go hard on sweetness.
Can I make this dairy-free?
Absolutely. Use oat milk and coconut cream. The texture stays solid.
Why does mine look powdery?
You need another Re-Spin or a splash of liquid.
Can I add chocolate chips?
Yes, use Mix-In mode so they don’t get crushed.
Does it taste like frozen hot chocolate?
Exactly. That’s the whole point.
Final Thoughts: This One’s a Keeper
This Hot Chocolate Ninja Creami Ice Cream recipe feels like comfort food reinvented. It’s easy, flexible, and ridiculously satisfying. I keep coming back to it on cold nights, hot days, and honestly… whenever.
If you own a Ninja Creami and love chocolate, you owe it to yourself to try this. Grab a spoon, hit Re-Spin and enjoy the chaos.

Hot Chocolate Ninja Creami Ice Cream
Equipment
- Ninja Creami
- Saucepan
- Whisk
- Measuring cups
- Measuring spoons
- Ninja Creami pint
Ingredients
- 1½ cups whole milk
- 2 tbsp unsweetened cocoa powder
- 2–3 tbsp sugar
- ¼ cup heavy cream
- ½ tsp vanilla extract
- 1 pinch salt
Instructions
- Heat the milk in a saucepan over medium-low heat until warm. Do not boil.
- Whisk in cocoa powder and sugar until fully dissolved and smooth.
- Add vanilla extract and a pinch of salt. Stir well and taste, adjusting sweetness if needed.
- Remove from heat and let the mixture cool to room temperature. Refrigerate until fully chilled.
- Pour the chilled mixture into a Ninja Creami pint, leaving space at the top.
- Freeze on a level surface for at least 12 hours until solid.
- Spin using Ice Cream mode. If crumbly, Re-Spin 1–2 times until creamy.
- Optional: Add 1 tablespoon milk or cream and Re-Spin for extra smoothness.
Notes
- Whole milk gives the creamiest texture
- Do not skip the salt, it enhances chocolate flavor
- Let the base cool fully before freezing
- Re-Spin is essential for smooth texture
- Add liquid before Re-Spin if texture looks dry
- Use Mix-In mode for marshmallows or chocolate chips
- Dairy-free option: oat milk + coconut cream