Let’s talk about boba for a second.
Not the fashionable cafe variant, which is pricier than it ought to be.
Not the one that appears half-hard, half-mushy, and somehow disappointing.
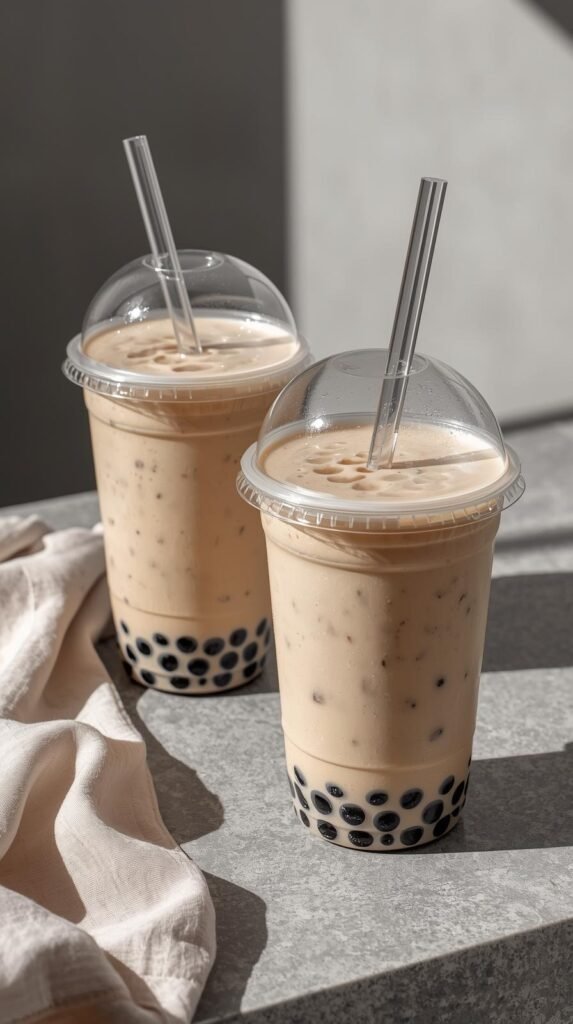
I mean actual boba pearls which are soft and chewy, a little sweet and warm in that manner that seems to make each sip of bubble tea purposeful.
And when you have ever tasted a little milk tea and said,
“Well, the drink is good… but the pearls make it,”
you’re absolutely right.
And here is the good news: it is much easier what it may seem to make DIY boba tea pearls at home.
No special machines, mystery powders, and no culinary degree required.
Only tapioca starch, sugar, a small amount of hot water, a little patience, and soon you have in your hand a bowl of highly chewable pearls that are even better than those served in the cafes.
I began preparing my own boba since I became fed up with unreliable shop-bought pearls. One hard, another melting down to sadness. Moreover, after knowing how easy the ingredients are, it rather turns out to be wrong to continue spending extra on that.
Let’s break it all down without making any step complicated.
Table of Contents
Why Homemade Boba Pearls Are Worth Making
At first glance, boba pearls seem like one of those “leave it to the pros” foods. But once you understand what’s happening, the process actually makes sense.
DIY Boba Pearls at a Glance
| Detail | Info |
|---|---|
| Texture | Soft, chewy, bouncy |
| Sweetness | Mild (from brown sugar) |
| Skill level | Beginner-friendly |
| Active time | ~30 minutes |
| Total time | ~1 hour |
| Best used | Same day |
The Texture Is Completely Different (In a Good Way)
Fresh boba pearls have a chew that packaged ones can’t match.
They’re:
- Soft on the outside
- Gently chewy in the center
- Not chalky
- Not rubbery
When you make them yourself, you control the texture. You decide how thick, how chewy, how soft.
And that alone makes the effort worth it.
You Know Exactly What’s Inside
Boba made at home requires a small number of ingredients:
- Tapioca starch
- Brown sugar
- Water
That’s it.
No preservatives.
No stabilizers.
No “what even is this?” moments.
They Taste Better Fresh
Boba pearls are best when they are fresh and hot. Pearls purchased in the store are stored, dry or are overcooked.
Homemade pearls go straight from the pot into syrup, which means maximum flavor and that signature chewy bounce.
You Control the Experience
Homemade boba allows you to pick the texture of the pearls, the taste of the sugar and the freshness of the drink. No guessing or hoping the package instructions weren’t lying.
Once you’ve had boba this fresh, it’s hard to go back.
Ingredients You Need (Simple & Exact)
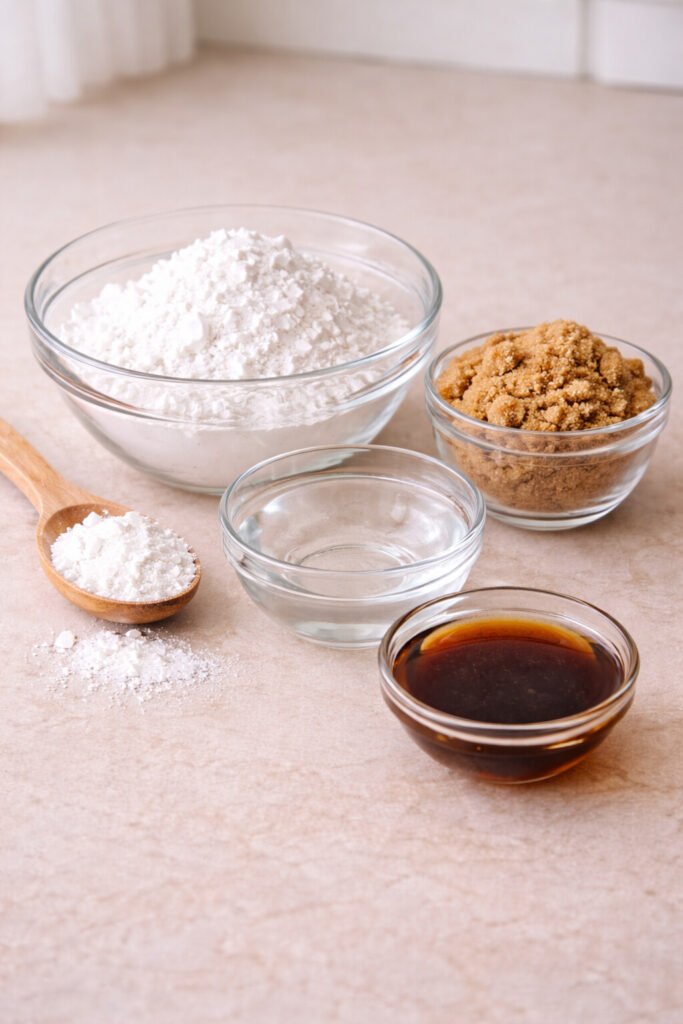
This recipe keeps things straightforward on purpose.
For the Boba Dough
- 1 cup tapioca starch
- ½ cup brown sugar
- ½ cup water
Nothing more to make the pearls themselves.
For the Sweet Syrup (Optional but Recommended)
- ½ cup brown sugar
- ½ cup water
This maintains the softness, glossiness and slight sweetness of the pearls once cooked.
Ingredient Breakdown (Why Each One Matters)
| Ingredient | Purpose |
|---|---|
| Tapioca starch | Creates the chewy structure |
| Brown sugar | Sweetness + color |
| Hot water | Activates the dough |
| Sugar syrup | Keeps pearls soft and glossy |
How to Make DIY Boba Tea Pearls (Step by Step)
It is a timed rather than a speedy kind of recipe. Take your time but step by step.
Step 1: Make the Sugar Syrup Base
Combine the brown sugar with the water in a small saucepan.
Heat on medium heat until all the sugar dissolves and the liquid begins to simmer.
This hot liquid is crucial. Tapioca starch only forms dough when combined with very hot liquid. Warm won’t work. Hot matters.
Step 2: Form the Dough
Take the sugar syrup off the heat.
Add immediately approximately 1/2 cup of tapioca starch to the hot liquid and stir rapidly with a spoon.
At first it will be odd, tacky, stumpy, half-formed. That’s normal.
As soon as it begins to form, add the rest of the tapioca starch a bit at a time and pound it until a smooth pliable dough is formed.
Dough Check
Dough is supposed to be warm, soft and flexible – not crumbly and not glue-like.
If it cracks, it’s too dry.
When it sticks to all it is too wet.
Adjust slowly. Even a small portion of starch, or a drop or so of hot water, is doing well.
Step 3: Roll & Shape the Pearls
Separate the dough into small pieces.
Each portion is rolled into thin ropes, followed by small pieces. Roll them all into tiny balls with your palms.
They don’t have to be perfect, slightly uneven pearls actually feel more authentic.
Spray with tapioca starch in order to avoid sticking.
Step 4: Cook the Boba Pearls
Bring a large pot of water to a rolling boil.
Gently add the pearls and stir them so as not to be stuck on the bottom.
After floating, cook 20–25 minutes stirring every now and then.
Next put heat off, and then cover the pot and allow them to cook further 20 minutes.
This is the most important rest step of that signature chew.
How Texture Changes as Boba Cooks
| Stage | Texture |
|---|---|
| First float | Soft outside, firm center |
| After 20-25 min boil | Chewy and elastic |
| After resting | Perfect bounce |
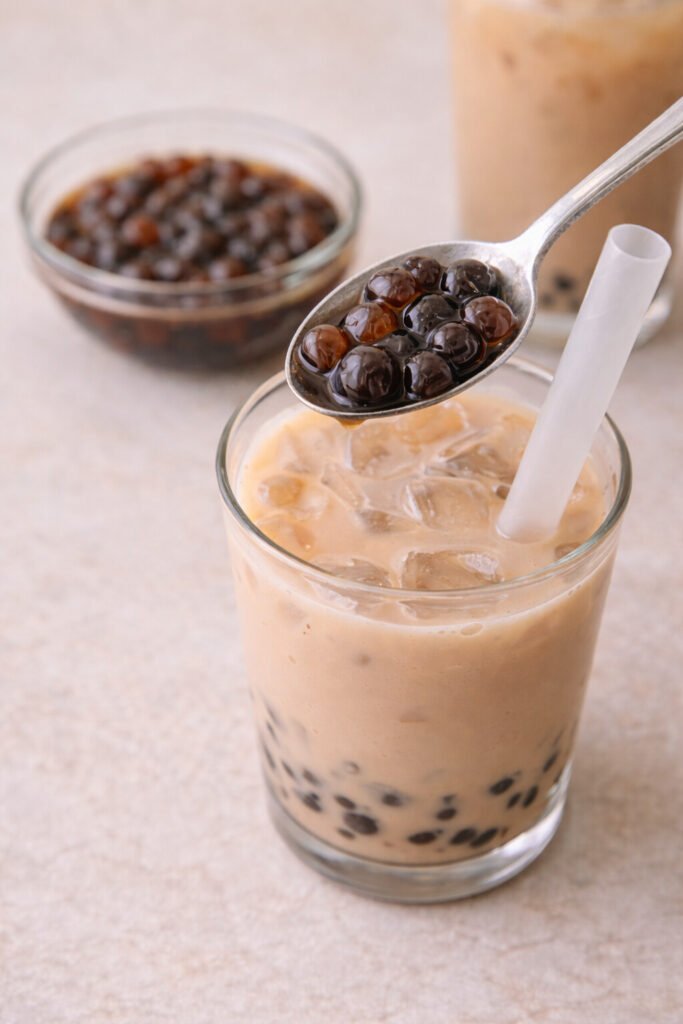
Step 5: Rinse & Sweeten
Pour out the pearls, and rinse under a little warm water.
Put them in the brown sugar syrup and allow them to sock at least 10 minutes.
This makes them tender, glossy and delicious.
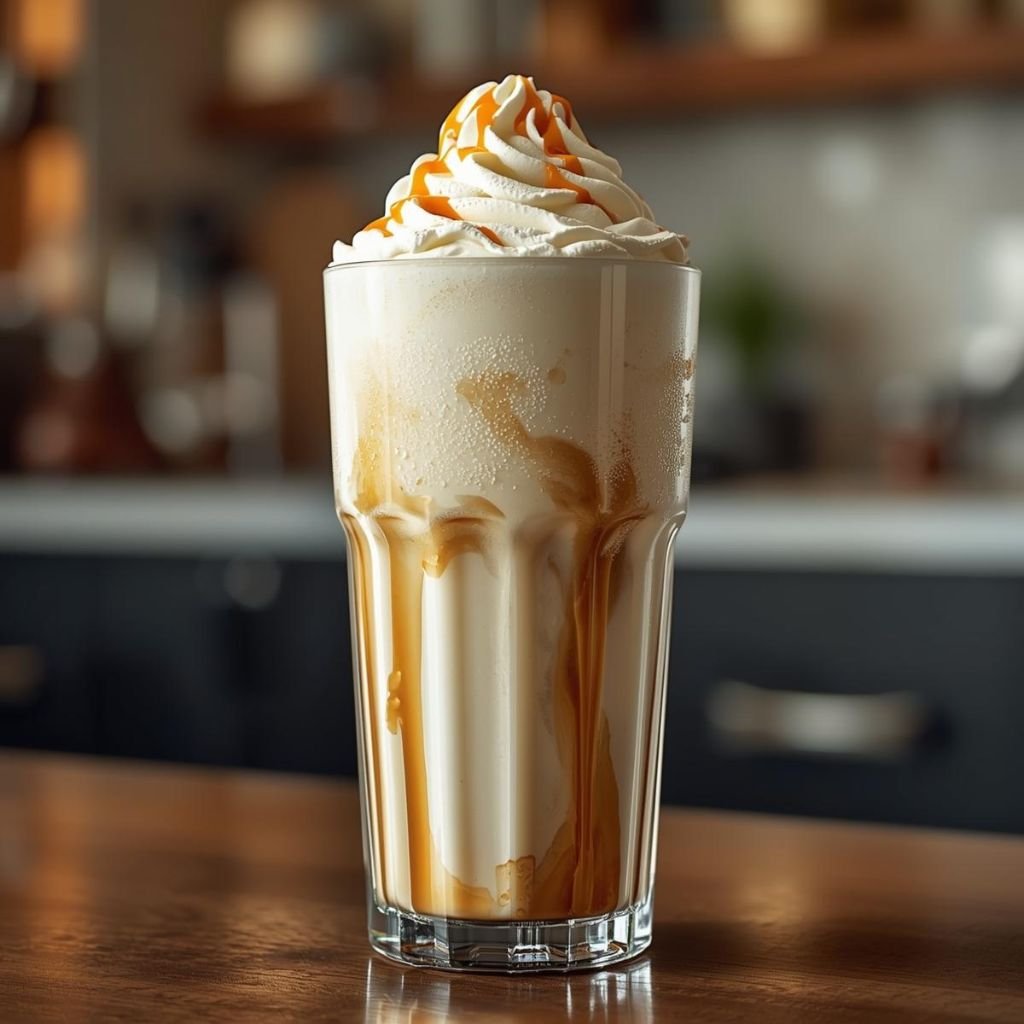
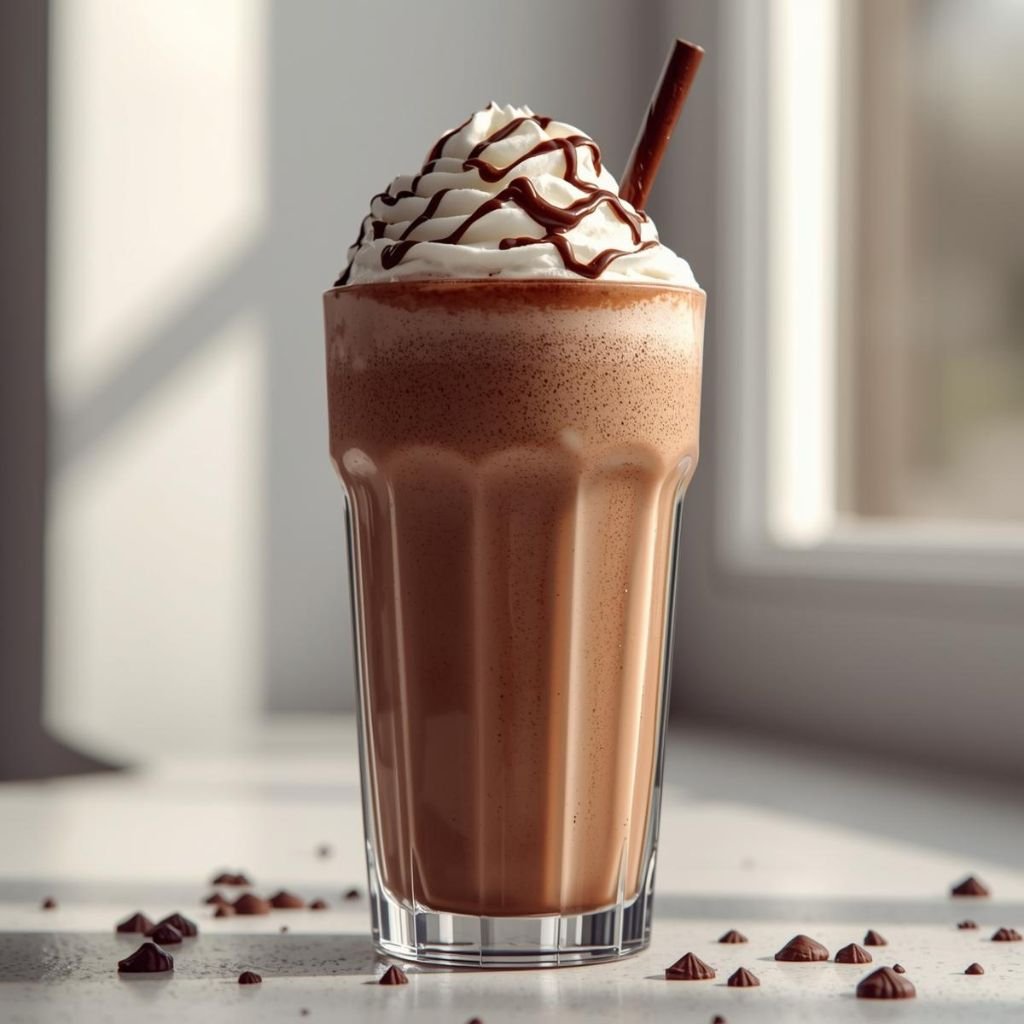
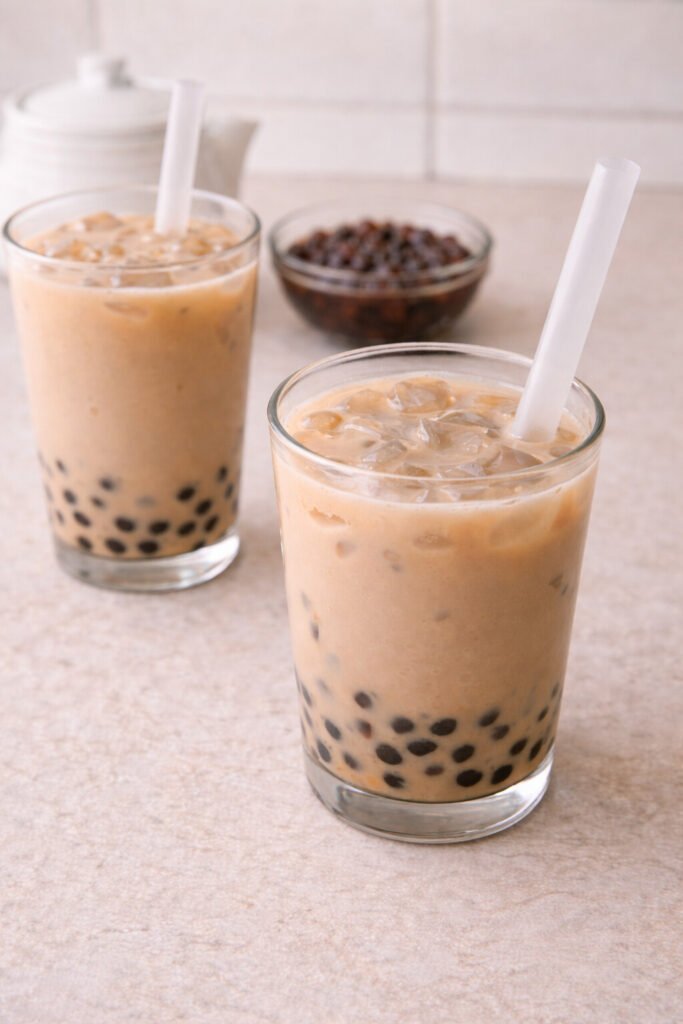
The Use of Your Homemade Boba Pearls
Now comes the fun part.
Add them to:
- Milk tea
- Iced tea
- Fruit tea
- Coffee drinks
- Vanilla milk
They are the type best taken in a few hours, when they remain warm and chewy.
When they are left too long without syrup they harden, and must always be covered.
Serving Tip: Warm pearls have the best contrast when used in cold drinks. When they are too cool, give a rinse of warm water before serving.
Pro Tips for Perfectly Chewy Boba
- Use fresh tapioca starch, old starch won’t form dough properly
- Work while the syrup is hot
- Cover any unused dough to avoid drying.
- Always cook in plenty of water
- Don’t skip the resting step after boiling
In my opinion, the chew is better when the pearls are left in syrup 10-15 minutes.
Common Mistakes (And How to Fix Them)
Pearls falling apart?
The syrup wasn’t hot enough.
Too hard inside?
Cook longer and rest longer.
Sticky mess?
Too much liquid, add more starch.
Flat flavor?
Don’t skip the brown sugar soak.
When Boba Is at Its Best
The home prepared boba pearls are optimally good after 2-4 hours of cooking. After that, they slowly firm up, even in syrup.
They’re still usable – just less magical.
When Homemade Boba Makes Sense
I make DIY boba when:
- I want bubble tea at home
- Store-bought pearls are sold out
- I want that fresh, chewy texture
- I’m already making milk tea anyway
Once you’ve made them once, the process feels much easier the next time.
FAQs (Real Questions)
Can I store homemade boba pearls?
They’re best fresh. Refrigeration changes the texture.
Can I freeze them?
Not recommended, freezing ruins the chew.
Can I make them ahead?
You can prepare the dough ahead, but cook pearls the same day.
Are these gluten-free?
Yes, tapioca starch is naturally gluten-free.
Final Thoughts
Making DIY boba tea pearls at home feels intimidating at first, until you do it once.
Then suddenly it clicks.
You realize it’s just dough, heat, and timing. And the reward? Perfectly chewy pearls that turn any drink into a real bubble tea experience.
Once you taste fresh boba, store-bought pearls feel like a compromise.
And honestly?
You deserve better bubble tea than that.
DIY Boba Tea Pearls
Equipment
- Saucepan
- Mixing bowl
- Spoon
- Knife or dough scraper
- Large pot
- Strainer
Ingredients
- 1 cup tapioca starch
- ½ cup brown sugar
- ½ cup water
Brown Sugar Syrup (Optional but Recommended)
½ | cup | brown sugar
½ | cup | water
Instructions
- In a small saucepan, combine brown sugar and water. Heat until fully dissolved and simmering.
- Remove from heat and immediately stir in about half of the tapioca starch until sticky.
- Gradually add the remaining starch and knead until a smooth, pliable dough forms.
- Roll dough into thin ropes, cut into small pieces, and roll into small balls. Dust lightly with tapioca starch.
- Bring a large pot of water to a rolling boil. Add pearls and stir gently.
- Cook for 20–25 minutes until pearls float. Turn off heat, cover, and rest for 20 minutes.
- Drain and rinse briefly with warm water. Transfer pearls to brown sugar syrup and soak for at least 10 minutes before using.
Notes
- Hot sugar syrup is essential for forming the dough
- Work quickly while dough is warm
- Dust pearls with starch to prevent sticking
- Resting after boiling improves chewiness
- Best used fresh within a few hours
- Keep pearls coated in syrup to stay soft
- Tapioca starch is naturally gluten-free