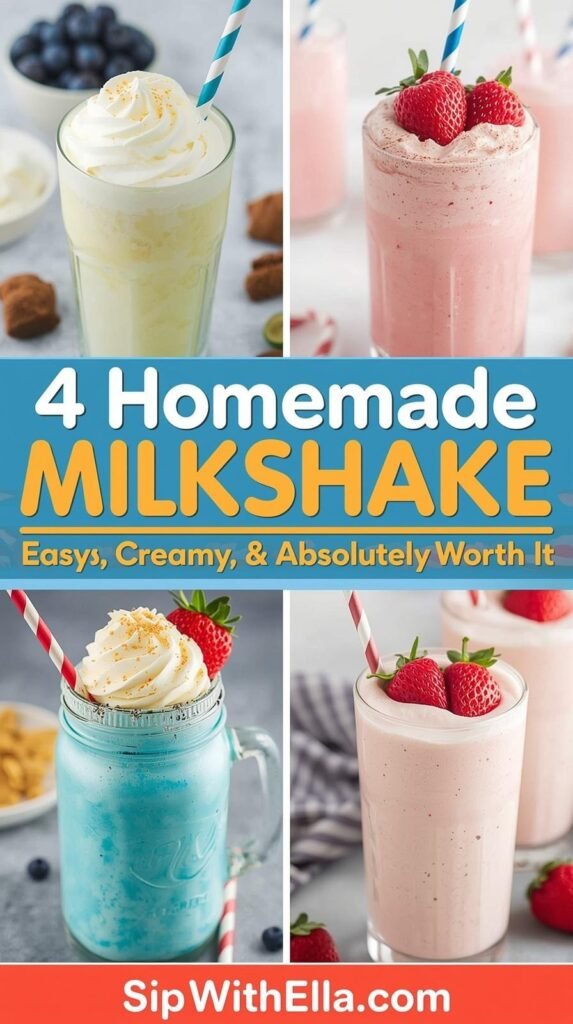
Some days call for a proper homemade milkshake recipes. Not the watery, over-blended stuff you get at a drive-through, but a thick, creamy, cold-to-the-last-drop homemade milkshake that you made in your own kitchen in under five minutes.
The best part? You don’t need a fancy machine, a culinary degree, or a reason beyond “I want one right now.” Here are four easy milkshake recipes that hit every flavor craving, classic, chocolatey, fruity, and downright indulgent.
Table of Contents
What Makes a Great Homemade Milkshake
Before jumping into the recipes, let’s talk about what actually separates a great milkshake from a mediocre one. Spoiler: it’s not complicated.
The Ice Cream Ratio Is Everything
The number one mistake people make with homemade milkshakes is adding too much milk. More milk doesn’t equal a better shake; it just gives you cold flavored milk with a straw in it The magic ratio is roughly 3 parts ice cream to 1 part milk.
Start with less milk than you think you need, blend, check the consistency, and add more only if necessary.
Full-fat, high-quality ice cream makes a visibly better milkshake. The higher the butterfat content, the creamier and thicker your result. Generic store-brand ice cream tends to have more air whipped into it, which produces a thinner, less satisfying shake.
This is one case where spending a dollar or two more on better ice cream pays off immediately in your glass.
Temperature and Timing Matter
Your ice cream should go straight from the freezer into the blender, not semi-thawed on the counter. Cold ice cream blends into a thick, scoopable consistency. Soft ice cream blends into something closer to a milky liquid.
Blend on high for 20–30 seconds max and stop. Over-blending warms the mixture and destroys the thick texture you’re working toward.
FYI, if your blender struggles with frozen ice cream, let the ice cream sit for literally 60 seconds (not longer) to soften just slightly, then blend. That’s all it needs.
Recipe 1: The Classic Vanilla Milkshake
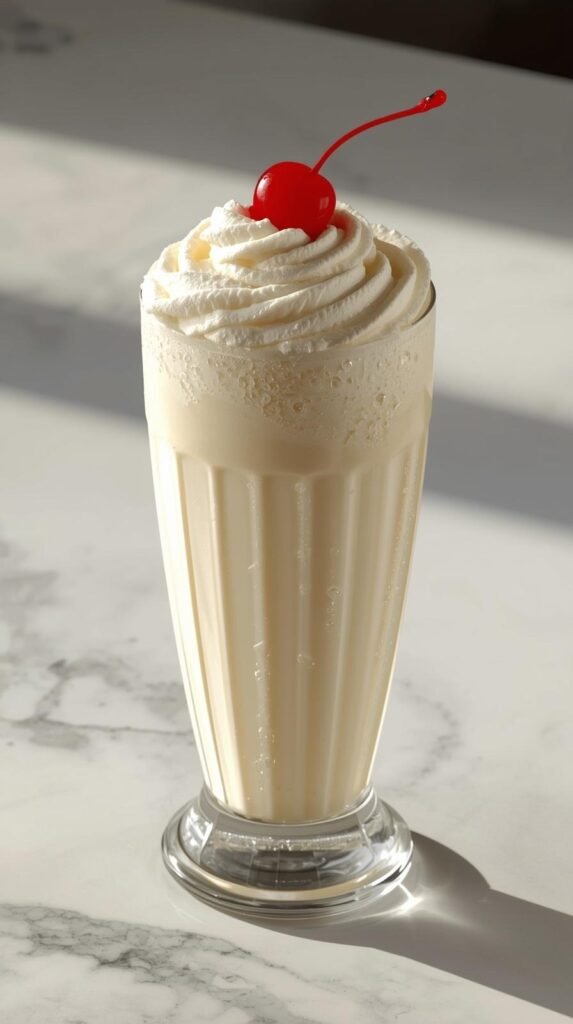
Sometimes you just need the original. No twists, no additions, just a perfect vanilla milkshake that reminds you why this drink became iconic in the first place.
Ingredients:
- 3 large scoops vanilla bean ice cream (go for real vanilla bean if you can)
- ½ cup whole milk
- 1 teaspoon pure vanilla extract
- Whipped cream and a cherry for topping
Method:
Add ice cream to the blender first, then pour the milk around the edges (this helps the blender catch the ice cream more easily). Add vanilla extract, blend on high for 20–25 seconds, and pour into a chilled glass.
Top with whipped cream and that cherry, because the cherry matters aesthetically even if you don’t eat it
Pro tip: Warm your glass slightly with hot water, then dump it out before pouring. The slight warmth prevents the milkshake from sticking to the sides of a super cold glass, making it easier to pour cleanly and drink every last drop.
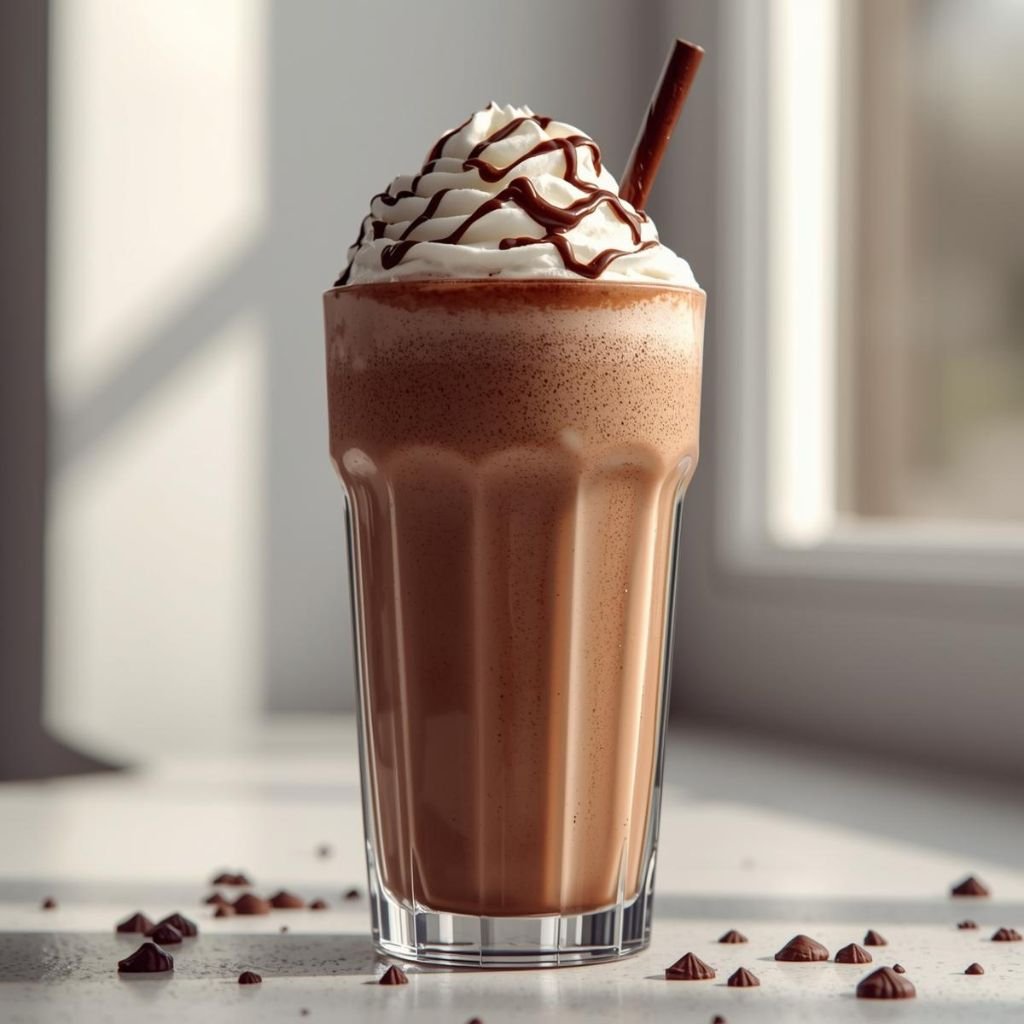
Recipe 2: The Ultimate Chocolate Milkshake
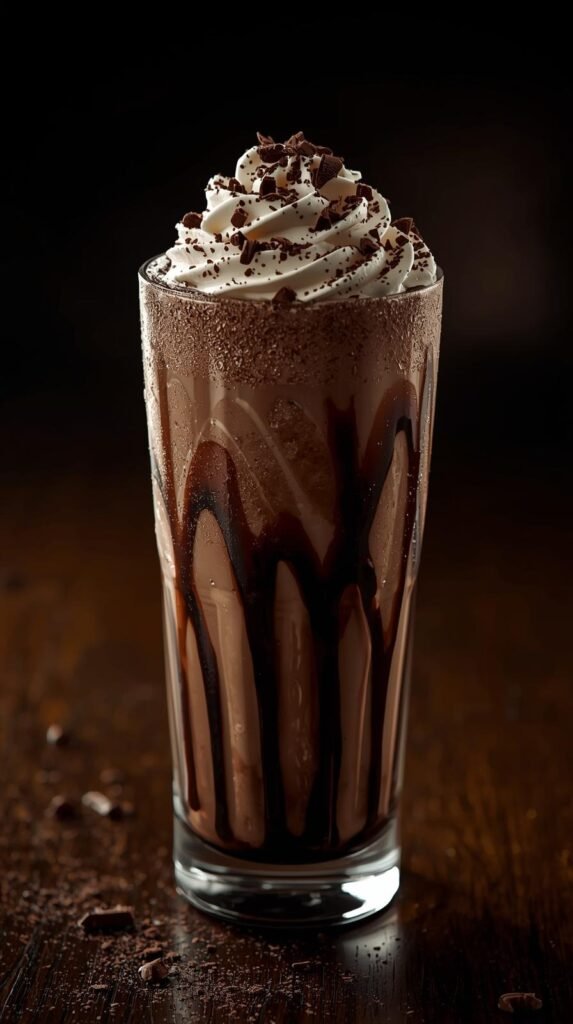
Chocolate milkshake purists, this one’s for you. This isn’t just chocolate ice cream blended with milk, it’s a double chocolate milkshake that uses both chocolate ice cream and real cocoa powder for a depth of flavor that tastes genuinely impressive.
Ingredients:
- 3 large scoops chocolate ice cream (the darkest, richest variety you can find)
- ½ cup whole milk
- 1 tablespoon unsweetened cocoa powder
- 1 tablespoon chocolate syrup (plus extra for drizzling)
- Whipped cream and chocolate shavings for topping
Method:
Add chocolate ice cream, milk, cocoa powder, and chocolate syrup to the blender. Blend on high for 20–25 seconds until smooth and thick. Before pouring, drizzle chocolate syrup along the inside walls of your glass; it creates those gorgeous chocolate streaks you see in café milkshakes and costs you about 10 seconds of effort.
Pour, top with whipped cream and chocolate shavings, and serve immediately. The cocoa powder is the secret here; it adds a slightly bitter, roasted depth that chocolate ice cream alone doesn’t deliver. It makes the whole shake taste more intentional and less like you just blended a scoop with some milk.
Recipe 3: Fresh Strawberry Milkshake
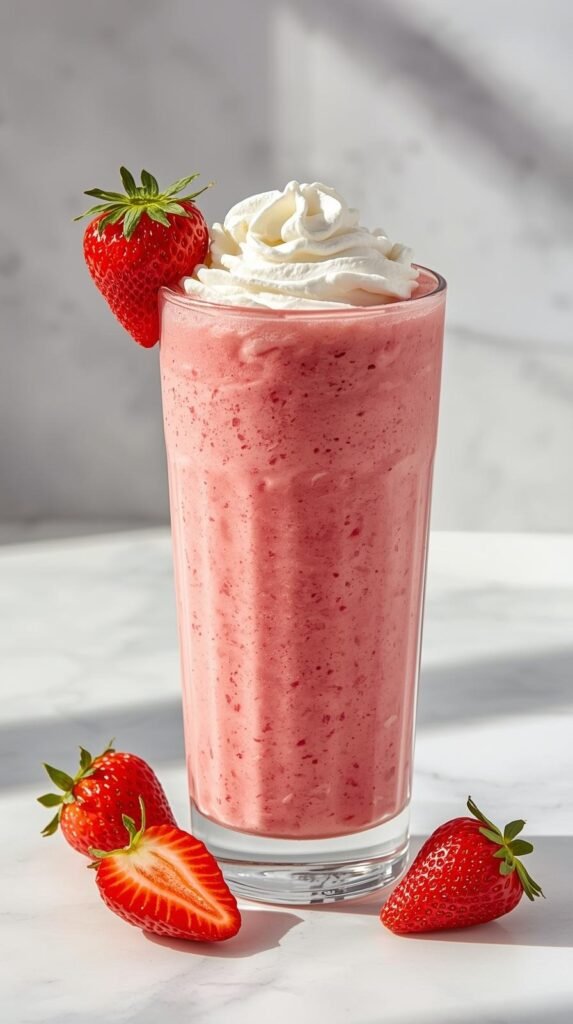
This one surprises people every time. Most strawberry milkshakes use strawberry ice cream and nothing else, which gives you an artificially sweet, vaguely pink drink. Using real fresh strawberries alongside the ice cream produces something completely different, genuinely fruity, brighter, and noticeably more delicious.
Ingredients:
- 2 large scoops vanilla ice cream
- 1 cup fresh strawberries, hulled and halved (frozen works too — they actually thicken the shake nicely)
- ¼ cup whole milk
- 1 tablespoon honey or sugar (optional, depending on how sweet your berries are)
- Whipped cream and a fresh strawberry for garnish
Method:
Add strawberries to the blender first and pulse a few times to break them down before adding ice cream and milk. This prevents large strawberry chunks from jamming your blender or creating uneven texture.
Add ice cream and milk, blend on high for 25–30 seconds, taste for sweetness, and adjust with honey if needed.
The color is naturally stunning, a genuine deep pink from real fruit rather than food dye. Serve in a clear glass so the color shows, garnish with a strawberry on the rim, and watch people reach for their phones before they even take a sip. IMO, this is the most photogenic milkshake of the four.
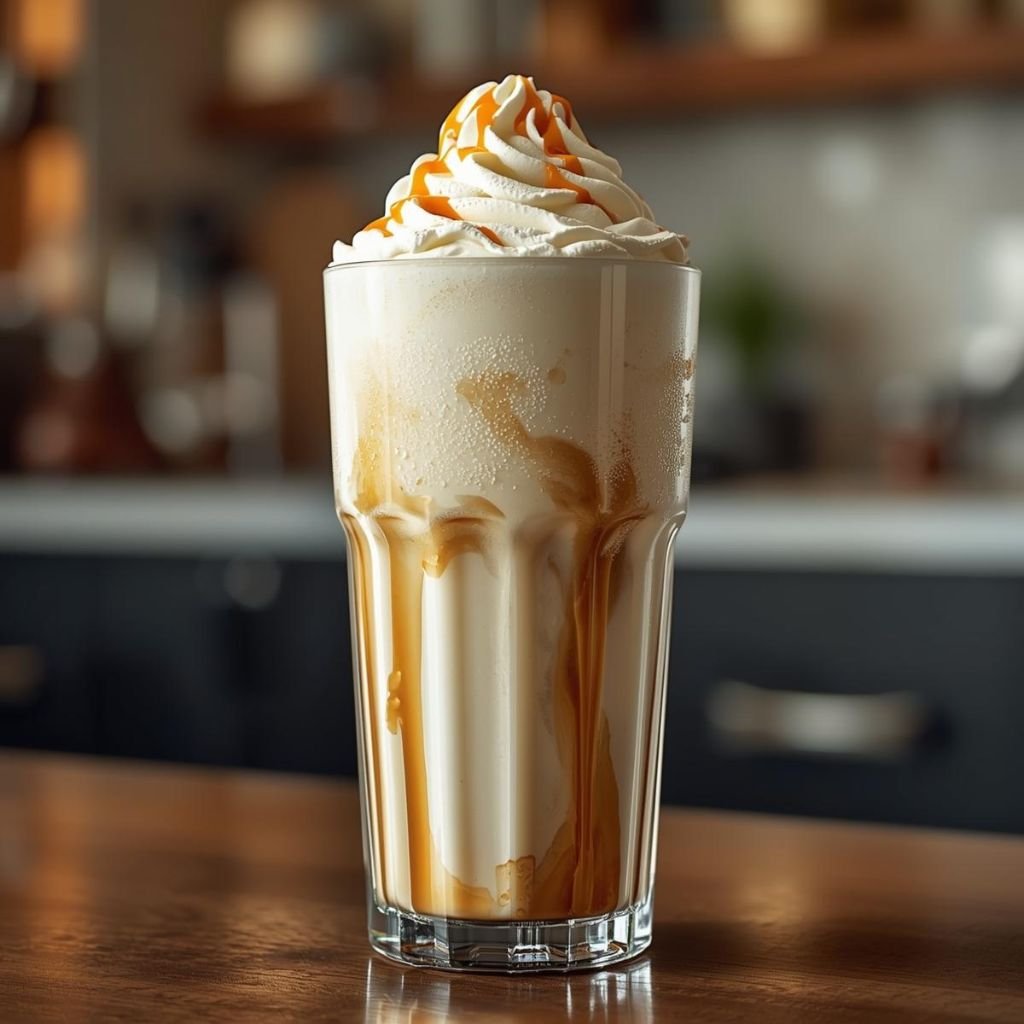
Recipe 4: Salted Caramel Milkshake
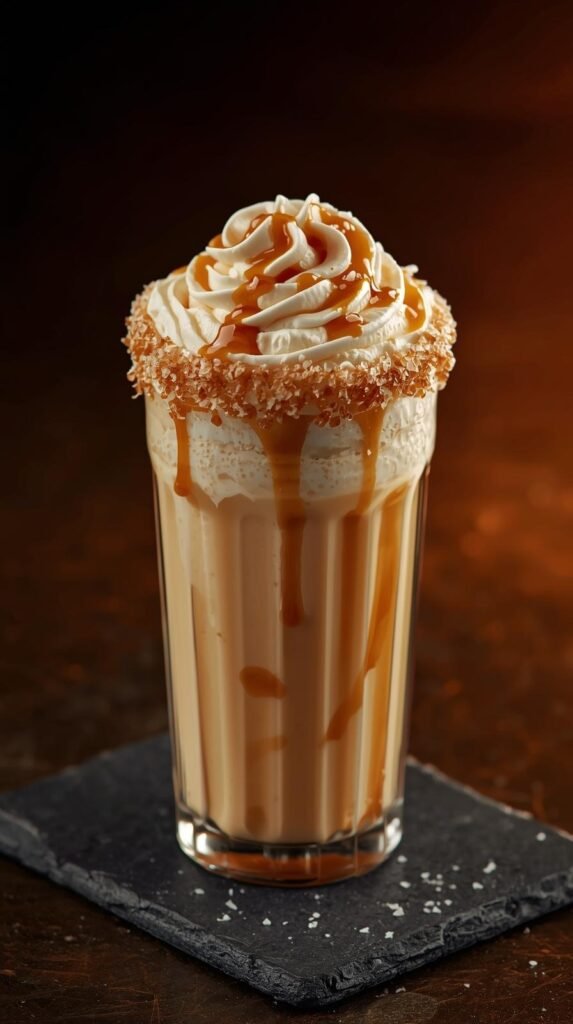
This is the one that converts people who think they don’t care about milkshakes. The salted caramel milkshake hits every flavor note, sweet, salty, rich, cold, and feels genuinely sophisticated despite taking four minutes to make.
Ingredients:
- 3 large scoops vanilla or caramel ice cream
- ½ cup whole milk
- 3 tablespoons caramel sauce (store-bought is perfectly fine, but homemade is incredible)
- ¼ teaspoon flaky sea salt (plus extra for the rim)
- Whipped cream, caramel drizzle, and a pinch of sea salt for topping
Method:
Salt the rim of your glass first, run a caramel-coated finger around the edge, then dip it lightly in flaky sea salt. It looks beautiful and adds flavor to every single sip. Add ice cream, milk, caramel sauce, and sea salt to the blender, blend for 20–25 seconds, and pour into your prepared glass.
The sea salt is the non-negotiable element here. It doesn’t make the shake taste salty, it amplifies the sweetness of the caramel and adds a complexity that makes people take a second sip immediately just to figure out what they’re tasting. That’s the reaction you want.
Tips That Apply to All Four Recipes
A few universal rules that improve every homemade milkshake you’ll ever make:
- Chill your glass in the freezer for 5 minutes before serving—it keeps the shake cold longer and creates that satisfying frosted look on the outside
- Always add liquid before turning on the blender—starting with dry ice cream can strain the motor on standard home blenders
- Use whole milk, not skim—fat content matters enormously for texture and mouthfeel
- Blend in pulses for the first few seconds before switching to high speed; this prevents the motor from working too hard against frozen ice cream
- Serve immediately—milkshakes don’t wait, and every minute at room temperature moves them further from perfect
Toppings That Take Your Milkshake to the Next Level
The shake itself is the main event, but the right toppings turn a great milkshake into a genuinely memorable experience:
- Whipped cream — non-negotiable, full stop
- Crushed cookies or graham crackers add texture and visual appeal
- Toasted coconut flakes pair beautifully with vanilla or caramel
- Maraschino cherry—classic for a reason
- Chocolate shavings or cocoa powder dusting — elegant and easy
- Caramel or fudge drizzle makes the glass look professionally assembled
Final Thoughts: Pick One and Make It Tonight
Four easy homemade milkshake recipes, each one distinct, each one genuinely delicious, each one ready in under five minutes with ingredients you likely already have. Classic vanilla for the purist, double chocolate for the indulgent, fresh strawberry for the fruity, and salted caramel for the one who wants to impress everyone, including themselves.
The only real question is which one you make first. Start with whichever flavor calls to you loudest right now and then work your way through all four, because life is too short to have a blender sitting in your cabinet doing nothing.
Go make a milkshake. You’ve absolutely earned it.